Apple’s iOS 4.3.2 firmware has been released and PwnageTool bundles have come into the scene to Jailbreak iOS 4.3.2 devices. At this stage this jailbreak is tethered, meaning you have to connect your device with PC for successful boot. It is yet to be confirmed whether @i0nic’s untethered jailbreak exploit has been patched in this release or it is still open. Here is the step by step guide to get jailbreak state on iPhone 4 running on iOS 4.3.2.
Step 1: Things you need:
- Download iTunes 10.2.1 from here,
- Download iOS 4.3.2 from here,
- Download PwnageTool 4.3 from here,
- Download PwnageTool bundles for iOS 4.3.2 from here,
- Download tetheredboot.zip utility for Mac OS X from here,
- Mac OS X.
Step 2: Modifying PwnageTool using custom bundles:
- Since official Pwnagetool can not jailbreak iOS 4.3.2, we have to modify it using the custom PwnageTool bundles.
- Download PwnageTool bundle. Extract the .zip folder, in there you will find a .bundle file, for this guide, we are using iPhone 4 bundle iPhone3,1_4.3.2_8H7.bundle. Move this file to your desktop.
- Download PwnageTool 4.3 and copy it to /Applications directory. Right click, and then click on “Show Package Contents” as shown in the screenshot below.
- Navigate to this path /Contents/Resources/FirmwareBundles and put the bundle iPhone3,1_4.3.2_8H7.bundle which you will find in the PwnageTool bundle folder.
- Close the folder.

Step 3:
- Start iTunes 10.2.1 and sync your iPhone, iPad or iPod touch with your Mac and back up important data including apps, settings, music, contacts and photos.
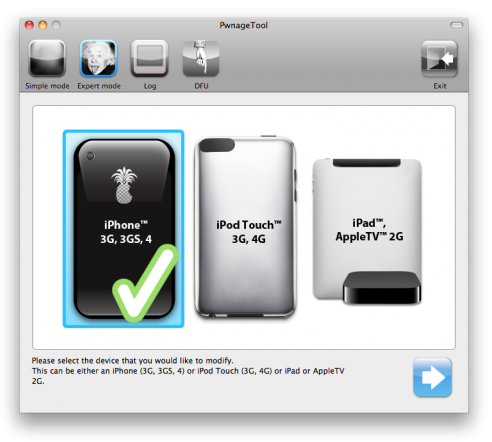
- Double click to start PwnageTool 4.3. Select ‘Expert Mode’ from the top menu bar and then select your device (iPhone 3GS, iPhone 4, iPod Touch 3G, 4G, iPad, Apple TV 2G). Click on the continue button.
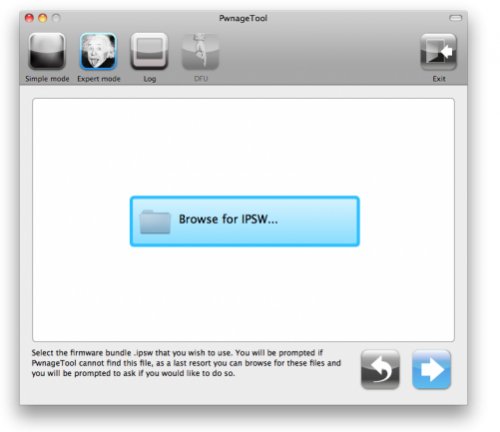
Step 4: Click “Browse for IPSW” button and then select your firmware from the folder where you have saved it.
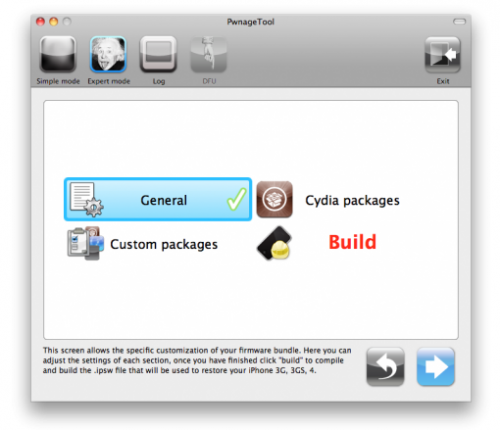
Step 5: You will see multiple options screen as shown in the figure below. Select “General” then click the arrow button to continue.
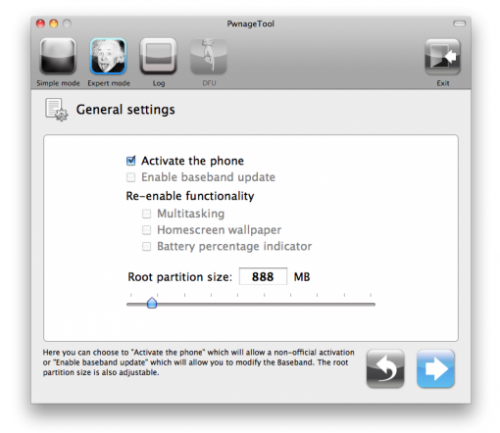
Step 6: Under General settings Check “Activate the phone’ if you are not with an official carrier and click the arrow button to continue. If on official carrier uncheck “Activate the iphone” option and continue.
Step 7: Now the Cydia settings window will allow you to create custom packages. Double click any of the packages to select. For example, double click on OpenSSH, it will then appear under Select Packages tab.
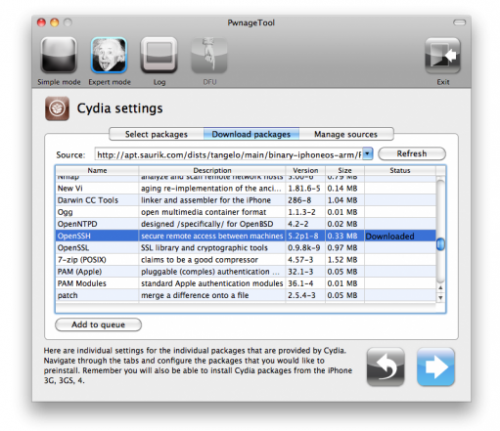
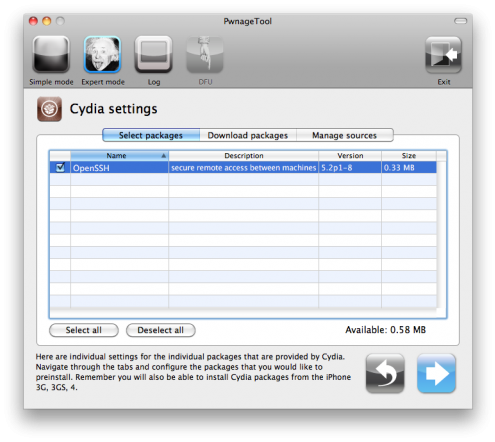
Step 8: Select Packages Tab and then select OpenSSH as shown in the screen below.
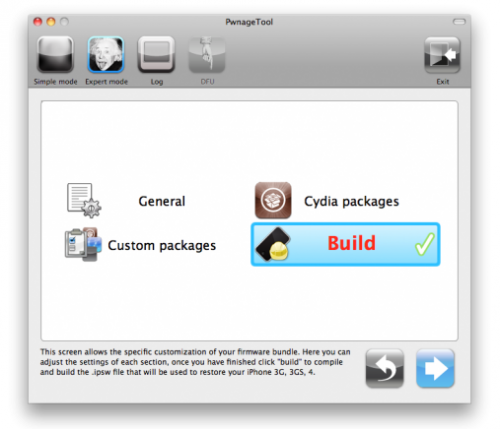
Step 9: Everything is now ready to begin the pwnage process. Click the Build button to select it then click the arrow button to begin.
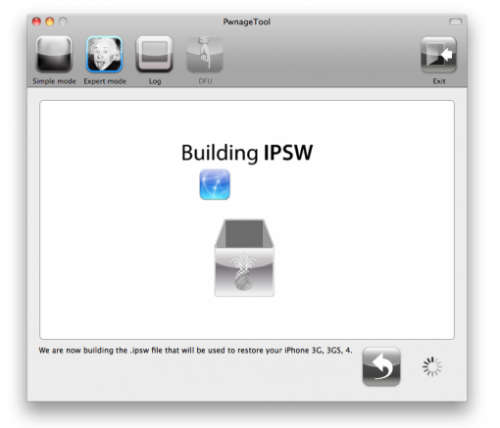
Step 10: PwnageTool will now create the custom .ipsw file for your iPhone. You will be prompted to save custom .ipsw firmware file. Save it to the desktop. It might take 10-15 minutes for building custom firmware.
Step 11:
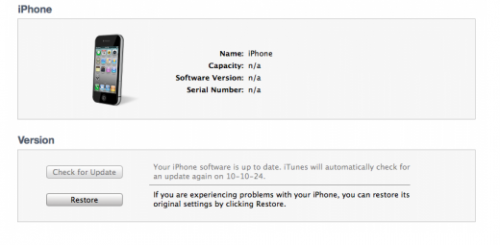
- Now you need to restore your iPhone to this custom firmware 4.3.2 for your iPhone or iPod touch. For doing this, click on your phone icon from the sidebar in iTunes.
- Press and hold left “alt” button on the keyboard and then click on “Restore” (Not “Update” or “Check for Update’) button in the iTunes. Now, release the “Shift” button.
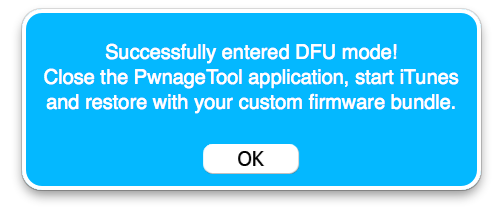
- iTunes will now prompt you to select the location for your custom firmware 4.3.2 Once your iPhone is successfully in DFU mode.
Step 12:
- Now select the custom IPSW that was created and click the Choose button. Wait for a while till iTunes installs the new firmware 4.3.2 on your iPhone. After the installation is done, iPhone will restart automatically.
- You have now successfully jailbroken iPhone, iPod Touch, iPad and Apple TV running iOS 4.3.2. You can follow the steps here for how to tethered boot your jailbroken idevice.
Part 2: Booting in Tethered Mode
Since iOS 4.3.2 jailbreak is tethered, we will have to connect the device with PC and use a software “tetheredboot” to boot it into a tethered jailbroken state.
Tetheredboot utility requires two files from iOS 4.3 to do its jobs. The names of those files are
- kernelcache.release.n90,
- iBSS.n90ap.RELEASE.dfu.
To get these files, change the extension of iOS 4.3.2 from .ipsw to .zip and extract it. You will find them under /Firmware/dfu/ folder.
Put all these files and tetheredboot utility into a new folder on desktop and name it “tetheredboot”.
How to Invoke Tethered Boot:
Start terminal and drag “teheredboot” into it. Now type “-i” (without quotes) and drag iBSS file, and then type “-k” and drag Kernel file into terminal. You can watch this video for more details.
- /Users/TechStuffs/Desktop/tetheredboot/tetheredboot –i
- /Users/TechStuffs/Desktop/tetheredboot/iBSS.n90ap.RELEASE.dfu -k
- /Users/TechStuffs/Desktop/tetheredboot/kernelcache.release.n90
Replace “Your name” with the name of user on your Mac machine and “Desktop” with name of location where you placed the “tetheredboot” folder.
When you are asked to put your device into DFU mode, follow the same method you used in Part 4. After a short period of time you will see “Exiting libpois0n” in the terminal windows which indicates your iPhone, iPad, iPod Touch will be booted within few moments.
For understanding purpose I am also showing you the video to Boot Successfully after Jailbreaking (tethered) idevice on iOS 4.3.2.
No comments:
Post a Comment